The appeal of commercial and residential places can be enhanced with an outstanding driveway because a properly maintained entrance makes the place eye-catchy. Most of the time, households do not renovate the driveway area just because they want to save the workmanship cost because, in Hertfordshire, the fee of contractors is quite high. However, you can still install a new driveway if you have selected resin bound as the DIY steps are quite easy for the installation and prove cost-saving too. So, try to learn the below-mentioned guidelines that make the installation process quite easy.
-
Base Preparation is the first Step!
All those who want long-lasting results of the driveway should make sure that base is prepared in an efficient way. It is crucial to scratch the unnecessary material from the existing base because such things can affect the interlocking capacity of resin-bound. Moreover, the best way is to power wash the base for removing all the dust and grime however for this cause, you’ll have to leave the base under the sunlight for at least two days. The base should be properly dried and cleaned in the first step.
-
Order Resin Bound and all the Relevant Material!
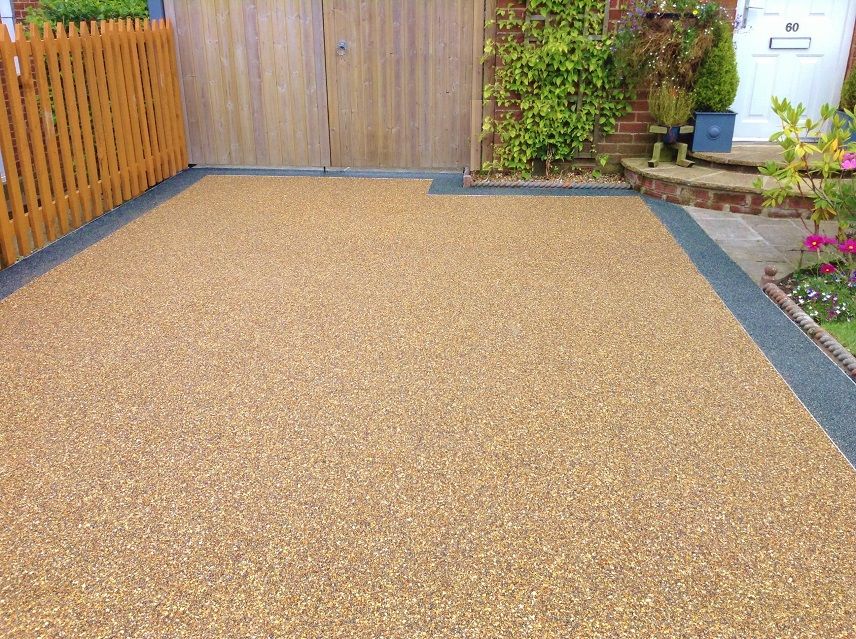
Now when you are done with the preparation of base, the material should be ordered for resin bound driveways in Hertfordshire. Well, it is totally up to you that which color you prefer to install however grey and yellow are in high demand these days. The colors including silver, black, and beige should be selected only when you are sure regarding the protection against UV light as the harsh rays turn the aggregate of such colors yellowish which looks clingy. Moreover, it is also vital to order material from a reliable brand for excellent appeal and long lasting results.
-
Get the Tools for Installation!
A forced action mixer is the basic tool and you should choose a mixer that can hold at least 100kg of aggregate. More on, drill, plasterers, bucket, white spirit, paddle, wheelbarrow, and gloves are also needed for mixing and installing the resin-bound. After getting the tools, you’ll have to mix the material but make sure to mix an appropriate quantity of material for accurate results.
The resin should become in a creamy form after mixing and it is also a wise approach to put around 2kg of sand to the creamy mixture because it adds longevity to the material.
-
Lay the Material!
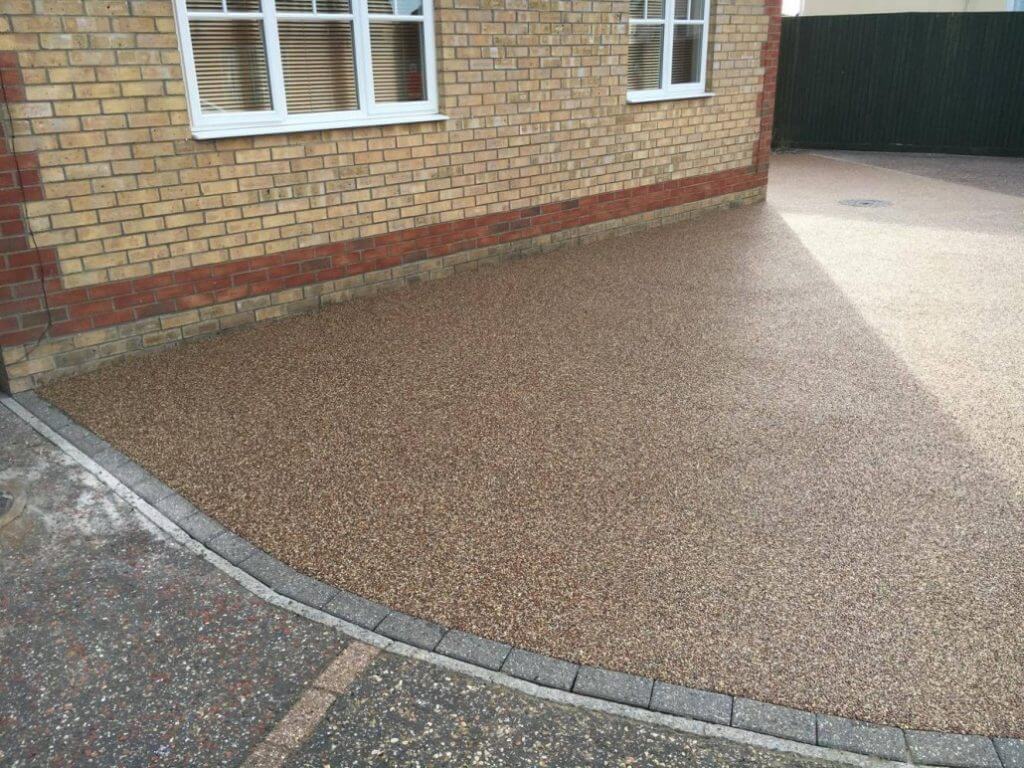
In the final step, all you need to do is laying down the material over the well-prepared surface. The whole laying process will take around 4 to 5 hours however the surface should be left untouched until it dries completely.